Migrating Mail from Zimbra Desktop to IMAP Server
The Zimbra Desktop mail client is a great mail client that gives the look and feel of the Zimbra Collabroation Suite, but the migration path out of the client has been less than easy. I wrote up a quick tutorial on steps that I took to help someone pull their email they had downloaded via POP into ZD and had gotten stuck there.
To do the export of the data, I used the built-in export utility inside of Zimbra Desktop. For the migration into an IMAP account (or a Zimbra Collaboration Server account) I used Thunderbird with the MboxImport enhanced add-on. I'm assuming you have already setup the account in Zimbra Desktop and pulled down the emails you want to export. I'm using Mac OS X to do the export, though it should work assuming you can get a file to extract the gzipped tarball from Zimbra Desktop.
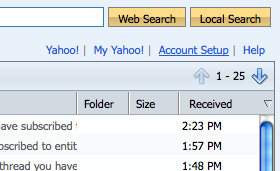
First, I started with exporting from Zimbra Desktop. I went to the Account Setup page using the bottom on the top-right.
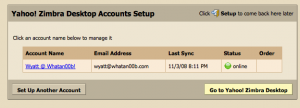
In the account setup screen, click on the account you want to migrate.
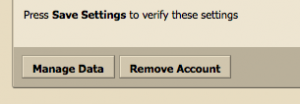
On the bottom-left, click on the Manage Data button.
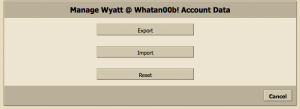
Click on Export.
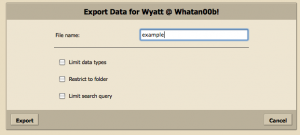
Type in the name you want to give the file, then click on Export.
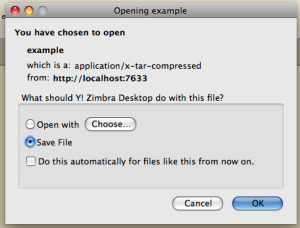
Then you'll be prompted to save the file. Save the file wherever you would like. Mine saved to my Downloads directory.
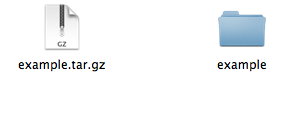
For some reason, it didn't actually name the file the way it was supposed to when I downloaded it it, so I renamed the file to example.tar.gz and double-clicked it to extract. If you're using Windows, 7-zip can extract the file.
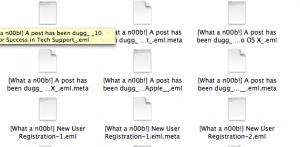
When you extract the file, you can open the folder and find directories for each folder of the mail you had. Inside those folders, there will be .eml files for each email. If you have more than 500 messages in a folder, the export breaks them up into multiple folders and append a number to the end of the name.
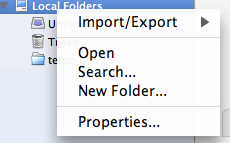
Now we're ready to import into Thunderbird. It's useful at this point if you account is setup already, but not necessary. First, we'll have to create a temporary local folder to import into. Right-click on the Local Folders in Thunderbird and click on New Folder. You can name it whatever you like, it will be cleared out eventually anyway.
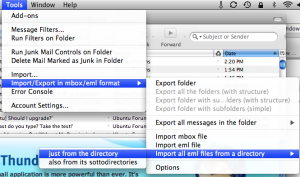
Then, select the new folder we created. Then, in the Thunderbird menu, go to Tools -> Import/Export in mbox/eml format -> Import all eml files from a directory -> also from its sottodirectories.
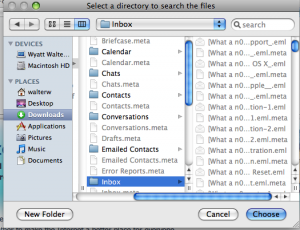
When prompted, navigate to your extract Zimbra Desktop export directory and click Choose.
The utility will import your messages into the temporary directory.
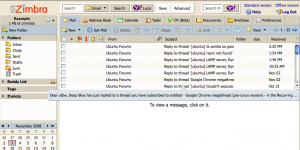
Depending upon the server that you are using, you may have to be careful with drag-and-dropping your messages into your IMAP account. You can do it, but beware: it may mess up timestamps on messages. For Zimbra we have a little trick we can use. When setting up the account, simply append "/tb" to the end of your username. For my example, my email address was example@whatan00b.com, so my username that I used to authenticate was "example@whatan00b.com/tb". Once you know how about the consequences of drag-and-drop inside your mail client, just drag all of your messages into their appropriate folders. Here's my messages now in the Zimbra web client:
Comments
Comments powered by Disqus